
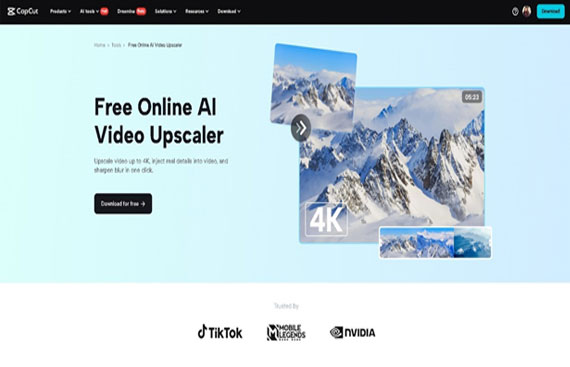
Rescue Low-Resolution Footage with CapCut's Built-In AI Video Upscaler
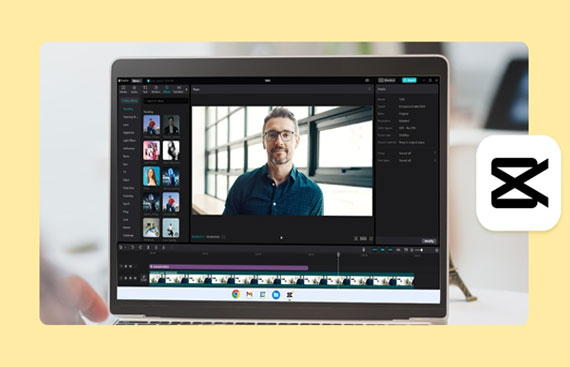
The most interesting video can be spoiled with low-resolution cameras. It could be a screen recording or an old clip or the video you shot in poor lighting, but pixelation and blurriness will make your video look unprofessional. However, the AI Video Upscaler in CapCut Desktop lets you do it in just a few clicks without involving any expensive software or prior learning to create errors: you can regain clarity and add details to your video in seconds!
The following five fast steps will guide you through amplifying your videos in this article through CapCut's built-in tools, and of course, the AI video upscaler, which injects fresh blood into your clips.
Why Use AI Video Upscaling?
The upscaling of CapCut learns to enhance blurry videos, color contrast, and even fill in the details in some magically intelligent way, which is perfect in the hands of a creator, marketer, educator, or anyone who may wish to use old or not-so-high-quality archive footage. No matter what kind of recordings you use, smartphones, Zoom replays, or downloaded media, CapCut allows you to recreate grainy images in smoothly watchable media.
Better still, the tool can be customized to work together with other artificial intelligence tools, such as its AI voice generator, which allows the addition of narration, but in the voice of someone other than the user, which is perfect when restoring videos of tutorials, explainers, or retrospective information.
Benefits of CapCut’s AI Video Upscaler
CapCut has an AI video upscaler that is not only simple but also truly valuable to the creator concerned with quality. The following are the best advantages:
Enhanced Clarity Without Reshooting: This will get extra crisper without the need of doing a re-recording or discarding footage simply because it was unclear or showed pixels. The AI automatically sharpens frames and makes your video picture-like and with high resolution.
Time Saving Automation: AI can improve resolution and work in a matter of seconds. This will give you more time to concentrate on actual storytelling.
Integrated in the Editor: There are no external tools or plugins that need to be installed and there is no export to a third-party application. The upscaler comes built-in in CapCut, which makes your editing process easy.
Perfect for content repurposing: Repurpose old or rejected footage into suitable content for shorts, promo, or social.
Easy to Use No Learning Curve: You need not be a professional or an advanced editor to utilize the CapCuts upscaler, as there is no technical knowledge needed to roll out visually striking changes with this feature.
Step-By-Step Guide On How To Use CapCut’s AI Video Upscaler
By following these five simple steps, a creator can rescue low-resolution footage with CapCut’s built-in AI video upscaler.
Step 1: Start a New Project and Import Footage
Open CapCut Desktop and select the option "New project" to get started with editing. Within the editor, open the "Media" panel and simply hit the "Import" button to load the preliminary resolution footage that you are to rectify.
When you import the clip, drag the item into the timeline. You are able to cut, divide, or rearrange where necessary, then add enhancements. This arrangement makes sure you are dealing with those parts that have to be improved only.
Step 2: Select the Clip and Apply AI Upscaling
Click on the clip in the timeline to highlight it. Then, on the top menu, select “Enhance quality”. A settings panel will appear on the right side, offering tools to adjust brightness, contrast, sharpness, and more.
Enable the AI video upscaler options like Clarity and Detail Enhancement to automatically improve the resolution. You’ll see instant improvements in edge definition and color balance — especially useful for facial features, text on screen, or product shots.
This feature is a lifesaver when repurposing old content for platforms like YouTube or Instagram, where quality impacts engagement.
Step 3: Include On-Screen Text and Subtitles
To add more information to your visual, go to the “Text” tab. Use the option of “Default text” to label clips, to emphasize instructions, or add titles. To improve accessibility, create automatic subtitles with the tool called Auto Captions.
This assists in tracking the show even to those viewing it with the sound effect turned off. It also enhances interactivity and access to networks such as LinkedIn, YouTube, or educational websites.
You may change the font size, color, and animations at the panel on the right to complement your video text and style.
Step 4: Add Voiceover to Support Your Restored Visuals
As soon as you have sharpened footage, it is time to add to the storytelling. In case your initial sound is not usable or absent altogether, simply press the word “Text to speech” in the upper toolbar.
Upload your script, choose between several natural voices, and press the "Generate speech" button. You will have a clear voiceover produced by CapCut, and you can drag it into your timeline. That is why text to speech AI is an invaluable tool in this case; you make your own enhanced footage sound professional without robbing a single word with manual recording.
Step 5: Export the Enhanced Video
Now that you have your video upscaled, have a voiceover on it and text on it, it is time to export. In the top-right corner, click on "Export". To make your video clear, set your resolution to 1080p or more, export your video in the MP4 format to make it universal, and use a clear name as the file name.
Your video is upscaled and restored, meaning that you can share it across any platform and that it is as sharp and high in quality as it has ever been.
Final Thoughts
You need not scrap your low-resolution clips or take several hours to re-record the video footage. Using the CapCut AI video upscaler, you will be able to get a higher resolution, in addition to correcting flaws and making old or blurry material fresh again. Add to those technologies, such as text to speech AI and AI voice generator, and you will have all you require to create quality videos, which are both visually and sonically professional.
The next time you encounter disturbing low-resolution video, rather than deleting the video, save it with CapCut.


